There’s something about waffles that instantly conjures up cozy weekend mornings—the scent of vanilla wafting through the kitchen, the sizzle of batter meeting hot iron, and the anticipation of that first, maple-syrup-drenched bite. For years, I thought my waffle days were behind me when I started eating grain-free. But after plenty of testing (and a few kitchen mishaps), I’m thrilled to share my favorite Paleo waffle recipe—one that’s crisp on the outside, fluffy inside, and so easy you’ll want to make it every week.
Waffles have a storied past, dating back to medieval Europe, where they were cooked over open fires between patterned plates. Over centuries, cultures around the world have embraced their own versions, from Belgian street vendors to American diners. The Paleo movement, with its focus on whole, unprocessed ingredients, has inspired a new generation of waffle lovers to reimagine this classic breakfast without grains or dairy.
What makes my version special? It’s all about the balance: blanched almond flour for a tender crumb, tapioca starch for that signature crispness, and a splash of apple cider vinegar to mimic buttermilk’s tang and create those delightful air pockets. I first whipped these up on a whim for my family, skeptical that a Paleo waffle could ever rival the real thing. But one bite—golden, fragrant, and perfectly light—changed our minds. Now, it’s a staple in our breakfast rotation, beloved by kids and adults alike.
Recipe Overview
Let’s talk logistics. From start to finish, you’re looking at just 15 minutes—five to gather and whisk, ten to cook. This recipe yields about eight mini waffles, four standard, or two large Belgian-style beauties. If you’re feeding a crowd (or just want leftovers for busy mornings), the recipe doubles effortlessly. I often make a double batch on Sunday, freeze the extras, and pop them in the toaster for a lightning-fast weekday treat.
Don’t be intimidated if you’re new to grain-free baking. These waffles are wonderfully forgiving. The batter comes together in one bowl, and you don’t need any fancy gadgets—just a waffle iron, a mixing bowl, and a whisk. If you don’t have a waffle iron, a grill pan or even a sandwich press can work in a pinch (though you’ll miss out on those classic pockets). For greasing, coconut oil or avocado oil spray both do the trick.
Meal prep is a breeze: let the waffles cool completely, layer them with parchment, and freeze. They reheat beautifully in the toaster or oven, regaining their crisp edges and soft centers. Trust me, future-you will thank present-you for the stash in the freezer.
Ingredients
Every ingredient here plays a starring role. Blanched almond flour is the backbone, giving the waffles a delicate, cake-like texture without heaviness. Be sure to use finely ground almond flour (not almond meal), which you can find at most supermarkets or online. Tapioca starch is the secret to that irresistible crunch—look for it in the baking aisle or health food stores. If you can’t find it, arrowroot starch is a worthy substitute, though the texture will be slightly different.
Coconut sugar lends a gentle sweetness and a hint of caramel flavor, but you can swap in maple syrup, honey, or even a sugar-free alternative if you prefer. Almond milk keeps the batter light and dairy-free; any unsweetened non-dairy milk works, so feel free to use coconut or cashew milk based on your taste or what’s in your fridge.
A single large egg binds everything together, while avocado oil adds richness without overpowering flavor. Melted coconut oil or light olive oil are also great options—just make sure your oil is neutral and liquid at room temperature.
Apple cider vinegar is the unsung hero here. When mixed with baking powder, it creates tiny bubbles that lift the batter, mimicking the effect of buttermilk and resulting in a waffle that’s airy, not dense. If you’re out of ACV, lemon juice works in a pinch.
For baking powder, be sure to use a Paleo-friendly version (grain-free and aluminum-free). You can make your own by mixing baking soda with cream of tartar and tapioca starch. Vanilla extract rounds out the flavors, adding warmth and depth.
A few simple prep notes:
- Bring your egg and almond milk to room temperature for the smoothest batter.
- Pre-measure and sift your flours if they’re clumpy.
- If doubling, mix in batches to avoid overworking the batter.
When shopping, seek out fresh, high-quality almond flour and check the expiration date on your baking powder for optimal rise. Seasonal fruit makes a lovely topping—think berries in summer, caramelized apples in fall.
Step-by-Step Method
- Preheat and Prepare
Begin by preheating your waffle iron according to the manufacturer’s instructions. A properly heated iron ensures your waffles cook evenly and release easily. While it heats, gather your ingredients and lightly grease the plates with coconut or avocado oil spray. - Mix the Dry Ingredients
In a large mixing bowl, whisk together the blanched almond flour, tapioca starch, coconut sugar, and Paleo baking powder. You’re looking for a uniform, lump-free mixture. The almond flour should feel soft and powdery, and the coconut sugar will add a subtle golden hue. - Combine the Wet Ingredients
In the same bowl (or a separate one, if you prefer), add the almond milk, egg, avocado oil, apple cider vinegar, and vanilla extract. Whisk gently until the batter is smooth and cohesive. Don’t worry if it seems a bit runnier than traditional waffle batter—that’s normal for Paleo versions. - Bring It All Together
Pour the wet ingredients into the dry and whisk just until combined. Over-mixing can make the waffles tough, so stop as soon as there are no visible streaks of flour. The batter should be pourable but not watery. - Cook the Waffles
Using a ladle or measuring cup, pour just under ½ cup of batter onto the center of the waffle iron. Close the lid and cook according to your iron’s instructions, usually 3-5 minutes. Watch for steam to slow and the edges to turn golden brown—a sign they’re ready. If your first waffle sticks, add a bit more oil for the next batch. - Check for Doneness
The waffles should lift easily from the iron, with crisp edges and a soft, springy center. If they feel limp, give them another minute. Transfer cooked waffles to a wire rack to cool slightly; this keeps them crisp instead of soggy. - Repeat and Serve
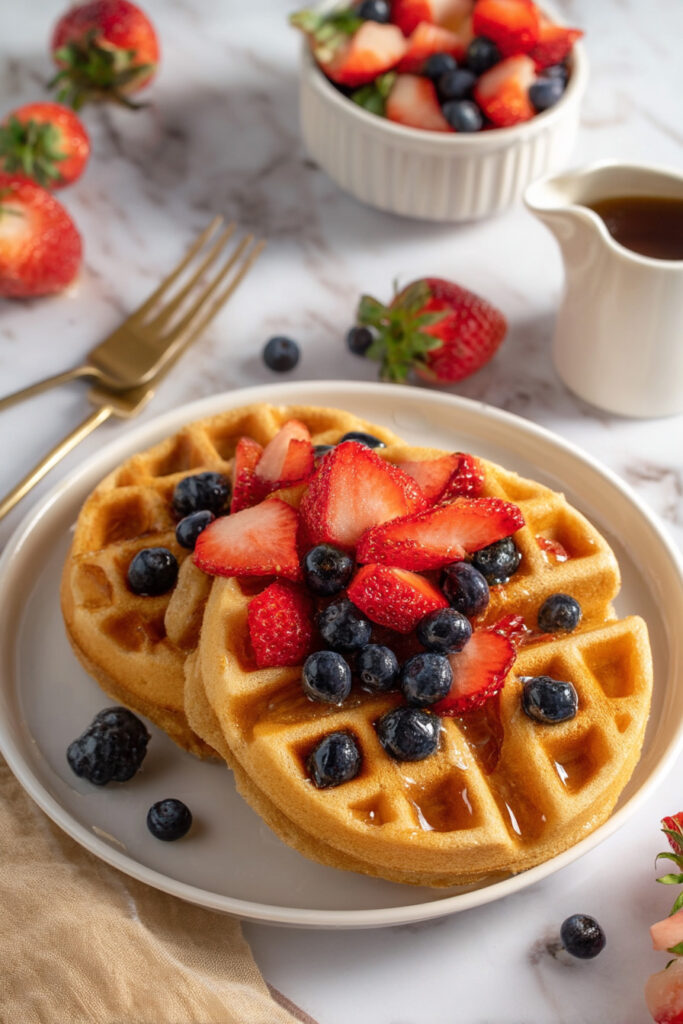
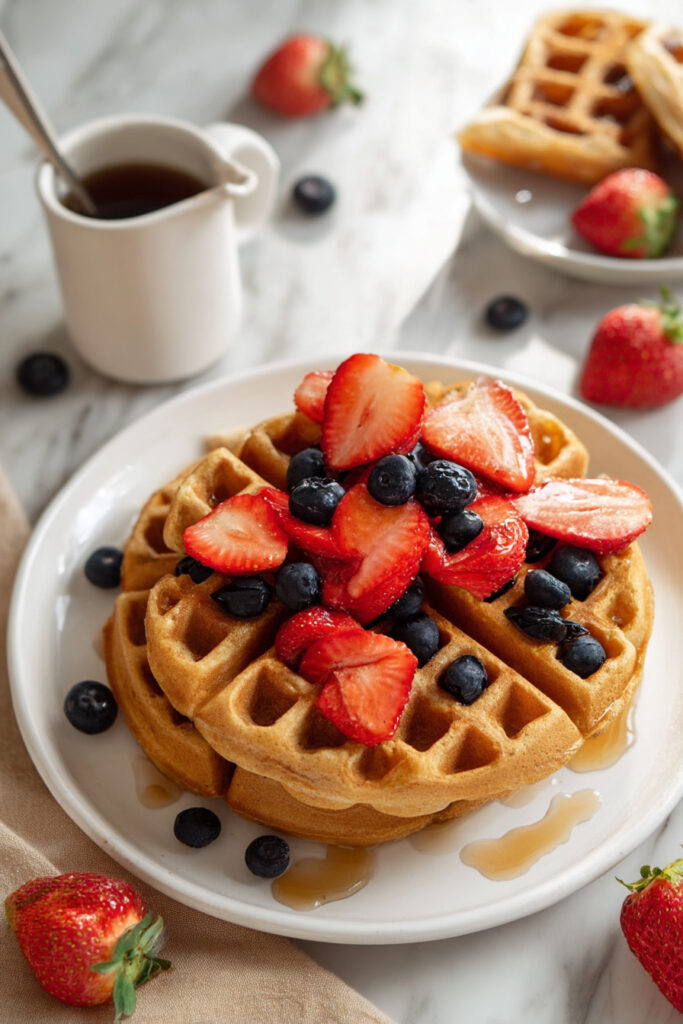
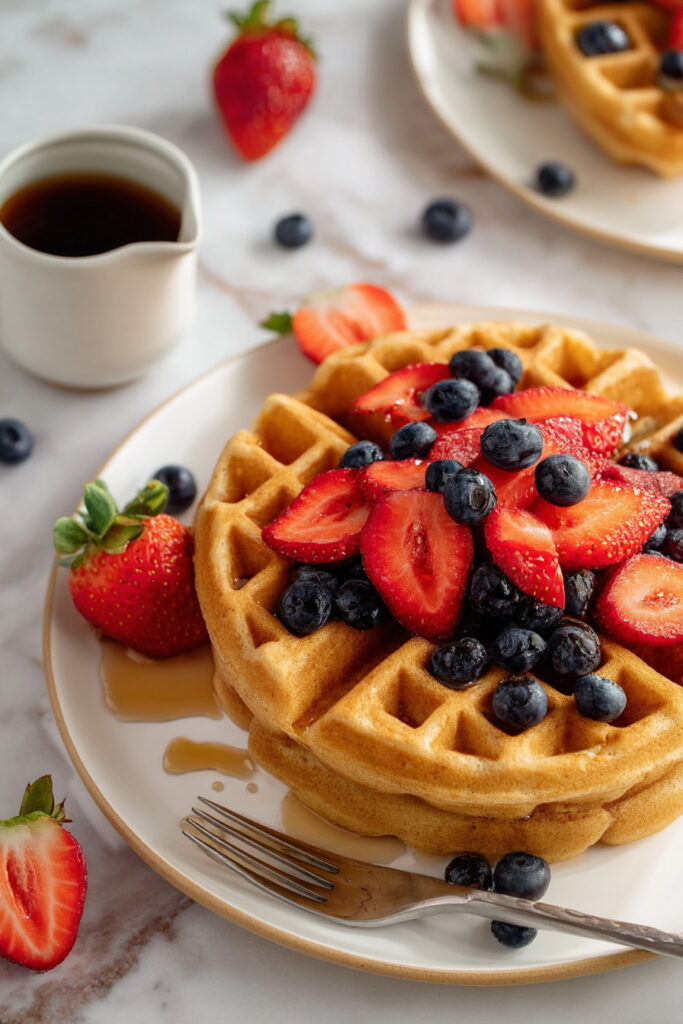
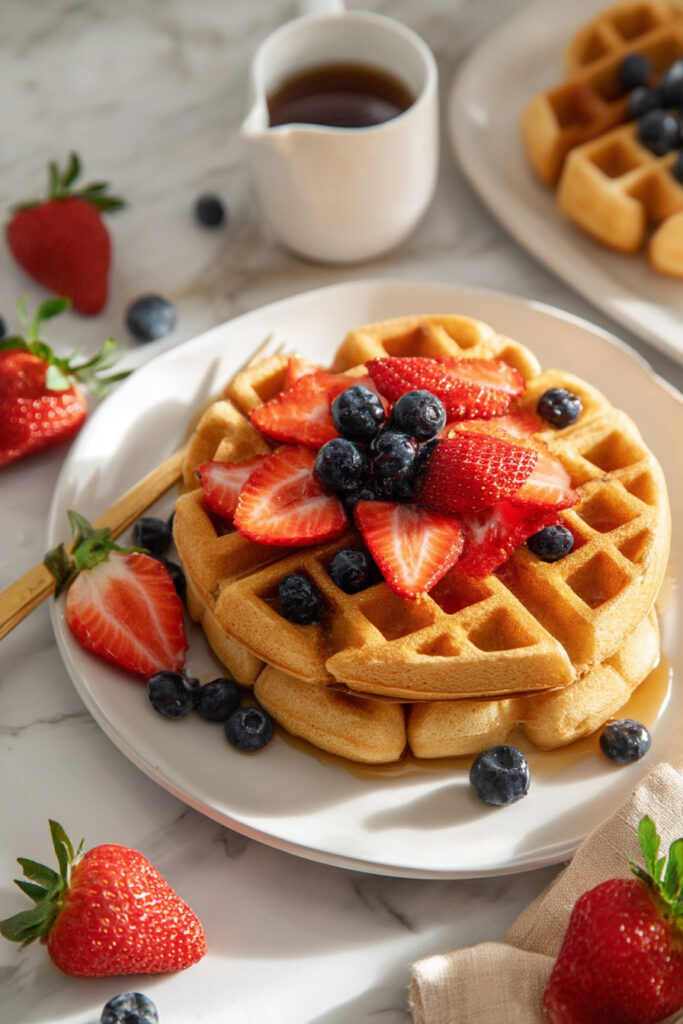
Continue with the remaining batter, greasing the iron as needed. Serve waffles hot, topped with your favorite fruit, coconut cream, or a drizzle of pure maple syrup.
Troubleshooting:
- If waffles are too dense, check that your baking powder is fresh and avoid over-mixing.
- If they stick, increase the oil or let them cook a bit longer.
- For extra fluffiness, separate the egg and whip the white to soft peaks, then fold in gently.
Variations & Customization
Paleo waffles are endlessly adaptable. For nut allergies, swap almond flour for sunflower seed or cassava flour (note: color may darken with sunflower). Arrowroot can stand in for tapioca, and any non-dairy milk works. For a chocolatey twist, add 2 tablespoons of cocoa powder and a handful of mini chocolate chips.
Spice things up with cinnamon, nutmeg, or pumpkin pie spice for a cozy autumn version. For special occasions, top with whipped coconut cream and berries, or layer with sautéed apples and toasted pecans.
To make the recipe keto-friendly, use a sugar substitute like monk fruit and reduce the tapioca starch, replacing it with more almond flour. For extra protein, add a scoop of collagen peptides.
Seasonal produce makes for fun adaptations—fresh peaches in summer, roasted pears in winter. For a budget-friendly batch, buy almond flour in bulk and freeze extra waffles for later.
Serving & Storage
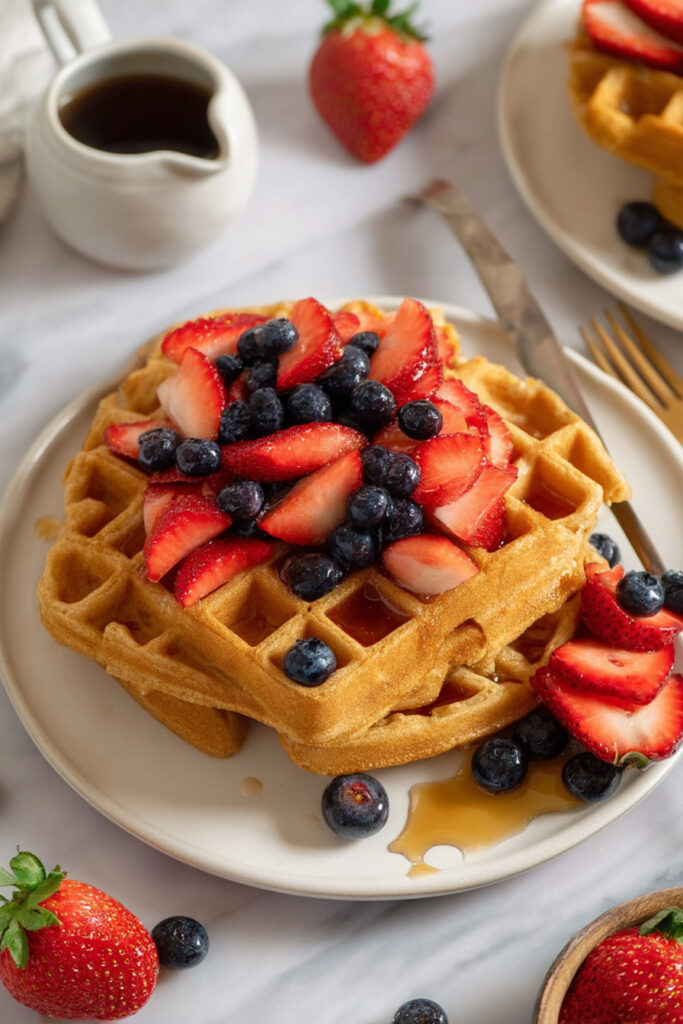
Presentation elevates even the simplest breakfast. Stack waffles on a warm plate, dust with coconut sugar or cinnamon, and garnish with fresh fruit or a dollop of coconut yogurt. For brunch, serve alongside crispy bacon, scrambled eggs, or a vibrant fruit salad. A glass of cold almond milk or a mug of coffee pairs beautifully; for a special brunch, try a crisp sparkling wine.
Leftovers are a gift to your future self. Let waffles cool completely, then layer with parchment in a freezer bag. They keep for up to a month. To reheat, pop straight from the freezer into the toaster or oven—no need to thaw. This restores their crispness and prevents sogginess.
For batch cooking, double the recipe and freeze extras. If you’re prepping ahead, make the batter the night before (store covered in the fridge) and cook fresh in the morning. Waffles can also be reheated in a 300°F oven for 5-7 minutes for a crowd.
PrintPaleo Waffles

Light, crispy, and naturally grain-free, these Paleo waffles are ready in just 15 minutes—perfect for busy mornings or a cozy brunch. Freeze extras for quick, toaster-ready breakfasts all week.
- Prep Time: 5 min
- Cook Time: 10 min
- Total Time: 15 min
- Yield: 8 mini waffles 1x
- Category: Breakfast
- Cuisine: American, French
Ingredients
- 1 cup blanched almond flour (fine)
- ½ cup tapioca starch
- 2 tbsp coconut sugar
- ½ cup almond milk
- 1 large egg
- ¼ cup avocado oil
- 1 tsp apple cider vinegar
- 2 tsp Paleo baking powder
- 1 tsp vanilla extract
Instructions
- Preheat waffle iron and lightly grease.
- Whisk almond flour, tapioca starch, coconut sugar, and baking powder until smooth.
- Add almond milk, egg, oil, apple cider vinegar, and vanilla. Whisk until just combined.
- Pour just under ½ cup batter into waffle iron. Cook per manufacturer’s instructions until golden.
- Repeat with remaining batter. Serve warm or freeze for later.
Notes
- For extra lightness, mix almond milk and vinegar first to mimic buttermilk.
- Store cooled waffles in a freezer bag with parchment between layers. Reheat from frozen in toaster or oven.
- Substitute arrowroot for tapioca, or coconut oil for avocado oil as needed.