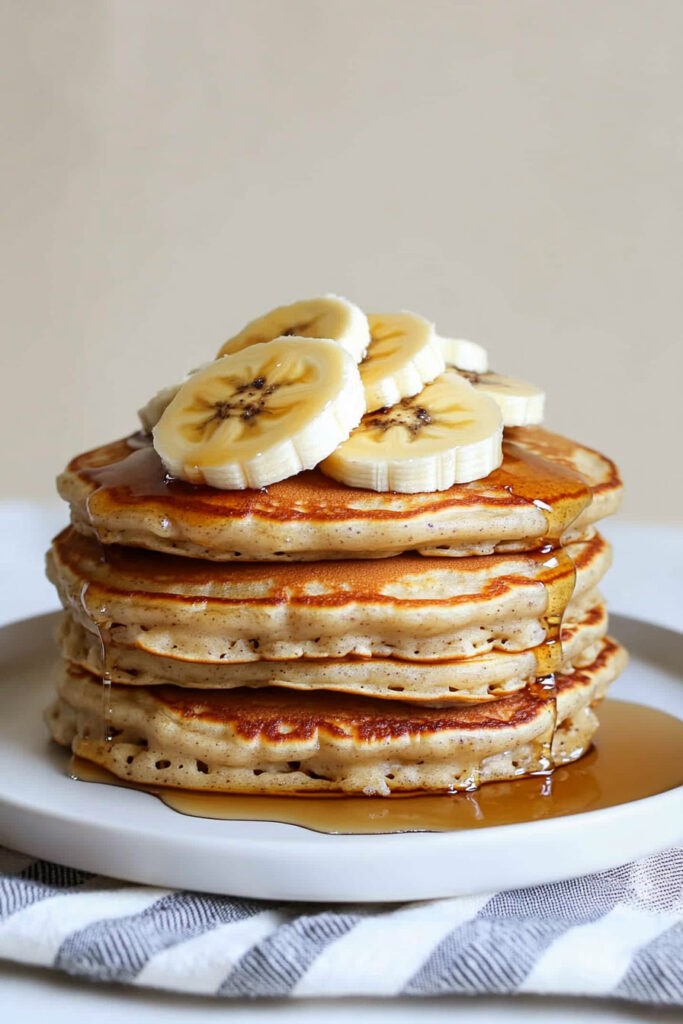
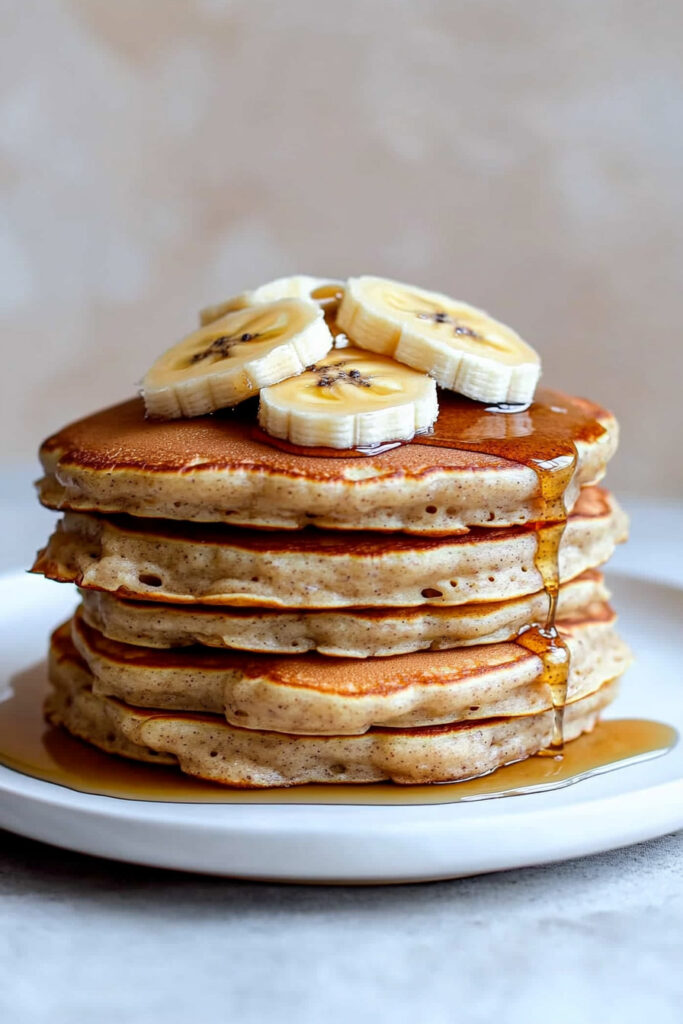
Let’s be honest—there’s just something about pancakes, isn’t there? They’re warm, comforting, and a little slice of happiness on a plate. But what if you’re on the Autoimmune Protocol (AIP) diet or have other food sensitivities? Don’t worry—I’ve got you covered. Meet AIP Banana Pancakes.
These pancakes are everything you want in a breakfast: fluffy, naturally sweet, and safe for most dietary restrictions. They’re made with nutrient-packed flours like cassava and tigernut, so they’re gluten-free, grain-free, and dairy-free. Oh, and the ripe banana? It’s the secret to that sweet, moist texture that’ll make you say, “Wow, these are good.”
Ready to make them? I’ll walk you through the recipe step by step. Let’s get started!
Recipe at a Glance
Prep + Cook Time
You’ll need about 30 minutes from start to finish—perfect for a weekend breakfast or a quick midweek treat.
Servings
This recipe makes 8–10 small pancakes, enough for 2–3 people. Cooking for a bigger group? Just double or triple the ingredients and cook in batches.
Difficulty
Super easy. Seriously, anyone can do this. The key? Don’t rush the cooking—patience is what gives you that perfect fluffy texture.
What You’ll Need
Equipment
- Blender: Makes mixing the batter a breeze. No blender? Use a whisk and bowl—it works too, just takes a little more effort.
- Non-stick skillet: Keeps your pancakes from sticking and helps them cook evenly. A well-seasoned cast iron pan also works great.
- Spatula: Thin ones are the best for flipping without breaking your pancakes.
Ingredients
Here’s what you’ll need for the batter:
- 3/4 cup full-fat coconut milk (no additives, please!)
- 1 tsp vanilla extract
- 1.5 tbsp apple cider vinegar (key for fluffiness)
- 1/2 cup cassava flour
- 3/4 cup tigernut flour
- 1/4 cup tapioca starch
- 1/2 tsp baking soda
- 1/2 tsp sea salt
- 1 ripe banana (the riper, the sweeter—look for those with brown spots)
- Coconut oil (for frying)
Substitution ideas:
- No tigernut flour? Try almond flour if you’re not strictly AIP.
- No coconut oil? Use olive or avocado oil instead.
- Want sweeter pancakes? Add 1–2 teaspoons of maple syrup to the batter.
How to Make Them
1. Make the Batter
In a blender, combine your ingredients in this order:
- Start with liquids (coconut milk, vanilla, vinegar).
- Add your dry ingredients (flours, tapioca starch, baking soda, salt).
- Toss in the mashed banana last.
Blend just enough to mix everything together. The batter should be thick but pourable—kind of like cake batter. Don’t overdo it, or your pancakes might turn dense.
2. Heat the Pan
Set your non-stick skillet over low-medium heat. Add a spoonful of coconut oil to keep things non-sticky and to give the pancakes those crispy edges.
Pro tip: Test the heat by dropping a tiny bit of batter into the pan. If it sizzles gently, you’re good to go.
3. Cook the Pancakes
Spoon small dollops of batter into the skillet—about 2.5 inches across works best. Let them cook for around 3 minutes, until bubbles form on top and the edges look set.
The common mistake? Flipping too early. If you flip before the bubbles appear, your pancake might fall apart.
Once ready, flip carefully and cook the other side for another 2–3 minutes, until golden brown.
4. Serve Them Up
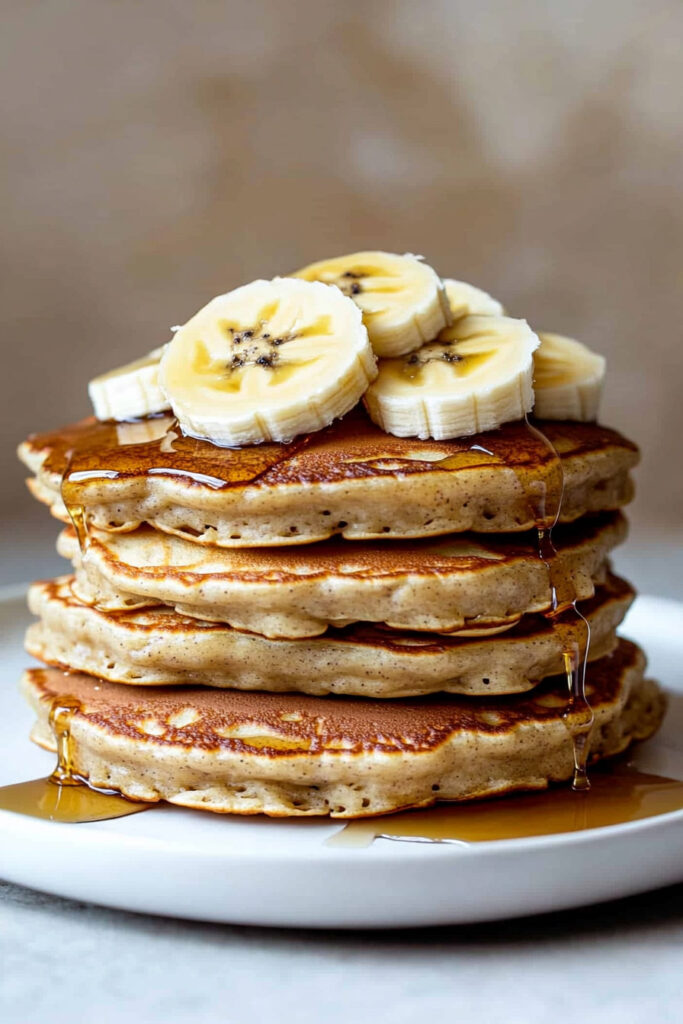
Stack your pancakes on a plate and keep going with the rest of the batter, adding a bit more coconut oil as needed.
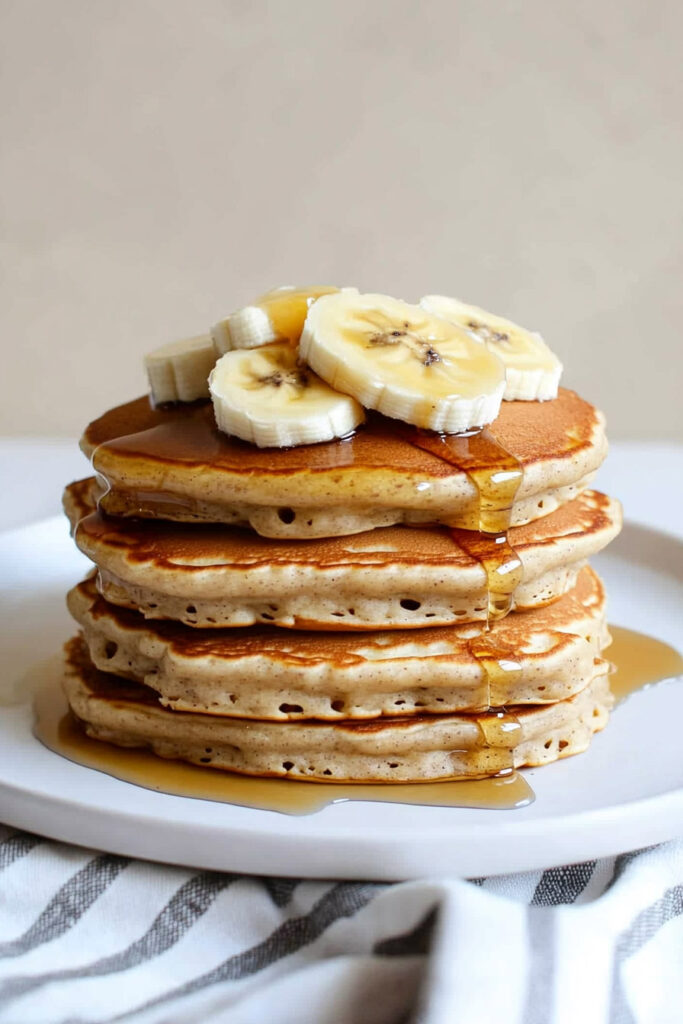
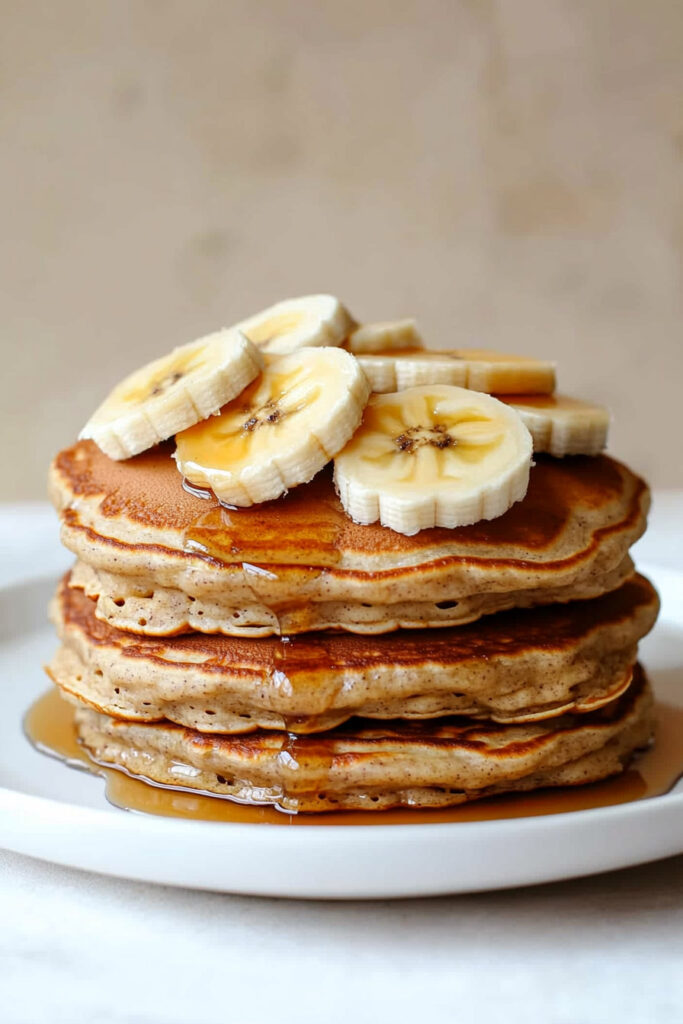
Top them with sliced bananas, fresh berries, or even a drizzle of maple syrup if you’re feeling fancy. Enjoy while they’re warm!
Tips, Variations & Storage
Want to prep ahead?
- You can refrigerate the batter for up to 24 hours—just stir it before cooking.
- Already cooked pancakes? Store them in the fridge for up to 3 days or freeze individually for up to 2 months.
Reheating?
- Warm them in a skillet over low heat or pop them in a toaster oven for crispy edges. Frozen ones can go straight into the toaster or microwave.
Spice it up!
- Add a pinch of cinnamon, nutmeg, or even a tiny dash of cardamom to the batter for extra flavor.
Got more time?
- For a special brunch, top your pancakes with coconut whipped cream and fresh fruit.
- Keeping it simple? They’re great plain or with just a few banana slices.
And there you go—fluffy, AIP-friendly banana pancakes that taste as good as they look. Whether you’re following AIP, have food restrictions, or just want a healthier pancake option, this recipe is sure to hit the spot.
Ready to give it a try? Let me know how it turns out!
PrintAIP Banana Pancakes
Fluffy, naturally sweet, and allergy-friendly, these AIP Banana Pancakes are perfect for a comforting breakfast or brunch. Made with nutrient-rich flours and ripe bananas, this recipe is gluten-free, dairy-free, and ideal for those following the Autoimmune Protocol (AIP).
- Prep Time: 10 minutes
- Cook Time: 20 minutes
- Total Time: 30 minutes
- Yield: 8–10 small pancakes 1x
- Category: Breakfast
- Cuisine: AIP, Paleo
Ingredients
For Pancakes:
- 3/4 cup full-fat coconut milk (additive-free)
- 1 tsp pure vanilla extract
- 1.5 tbsp apple cider vinegar
- 1/2 cup cassava flour
- 3/4 cup tigernut flour
- 1/4 cup tapioca starch
- 1/2 tsp baking soda
- 1/2 tsp sea salt
- 1 large ripe banana (about 1/2 cup mashed)
- Coconut oil for frying
Instructions
Combine all pancake ingredients in a blender in the order listed. Blend briefly until just combined—avoid over-mixing to keep the batter thick and fluffy.
Preheat a non-stick skillet over low-medium heat and coat generously with coconut oil.
Spoon small dollops of batter (about 2.5 inches wide) into the skillet. Cook for about 3 minutes, or until bubbles form and edges look set. Flip gently and cook for another 2–3 minutes until golden brown. Repeat with remaining batter, adding more coconut oil as needed.
Transfer pancakes to a plate and serve immediately. Optional: Top with sliced banana or drizzle with maple syrup.
Notes
Serving Suggestions: Pair with fresh fruit, coconut whipped cream, or a drizzle of maple syrup for extra flavor.
Tips & Tricks: Keep pancakes small to ensure even cooking and easy flipping. Use ripe bananas for natural sweetness. Patience is key—don’t flip too soon!
Storage & Reheating: Store leftovers in an airtight container in the fridge for up to 3 days or freeze individually on parchment paper for up to 2 months. Reheat in a skillet over low heat or pop them in the toaster for crispy edges.