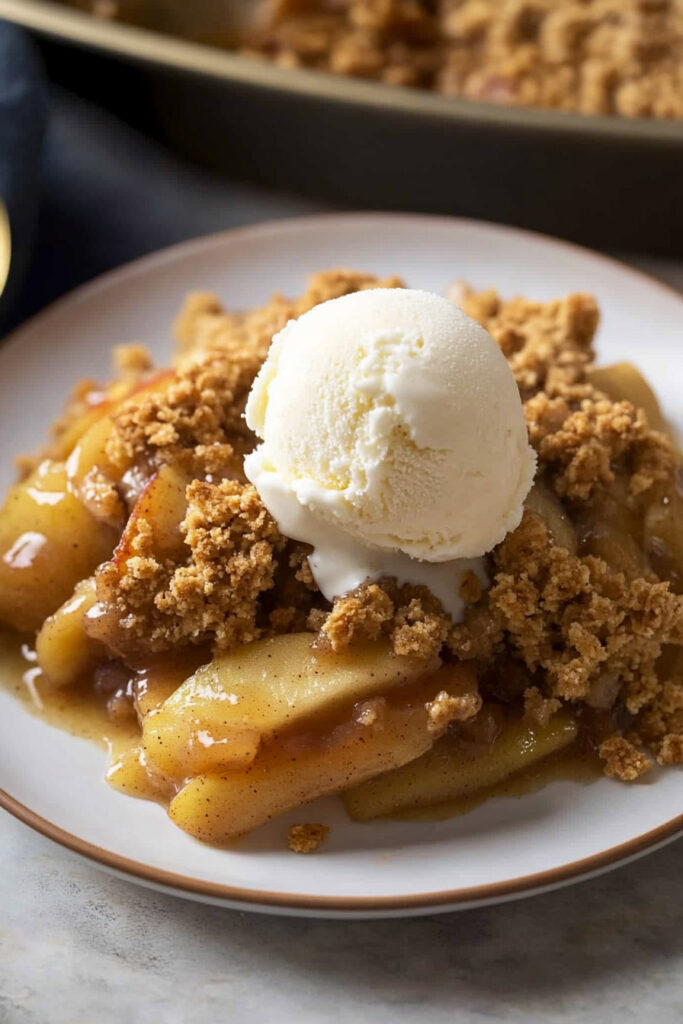
There’s nothing better than the smell of warm apples baking away in the oven. Add a dash of cinnamon, and suddenly your kitchen feels like fall—all cozy, nostalgic, and full of comfort. Apple crisp is one of those desserts that hits the sweet spot, literally. It’s simple, homey, and as satisfying as a warm hug.
This recipe is designed for anyone following the Autoimmune Protocol (AIP) diet, but trust me, it’s packed full of flavor and doesn’t feel restrictive. We’ll swap out a few traditional ingredients for AIP-friendly ones, but you won’t lose that classic apple crisp magic. Whether you’re on AIP or just want a lighter dessert option, this recipe might just become one of your go-to favorites.
Ready to make your kitchen smell amazing? Let’s get started!
Quick Recipe Rundown
Time Needed
- Prep Time: 20 minutes
- Cook Time: 35 minutes
- Total Time: 55 minutes
Servings
This recipe makes about six servings. Perfect for sharing with family or keeping for yourself—no judgment! If you need more, just double the recipe and grab a bigger baking dish. Cooking for fewer people? Halve everything, or bake in cute ramekins for individual servings.
Difficulty Level
This one’s super beginner-friendly. The steps are simple, and I’ll walk you through it as if we’re doing it together.
What You’ll Need
Here’s the gear:
- Sharp knife and cutting board for cutting apples
- A mixing bowl
- Whisk or fork for blending dry ingredients
- Pastry cutter (optional) or use your hands—it’s more fun!
- 9-inch pie plate or an 8″x8″ baking dish
- Oven
No fancy gadgets required. If you don’t have the exact dish size, just use something oven-safe that fits your apples comfortably.
Ingredients
Here’s the list you’ll need to gather:
- 4 cups green apples, peeled and sliced (Granny Smith is best for tartness)
- ¼ cup juice (orange juice or unsweetened cranberry juice for flavor)
- 1 cup coconut sugar (or ¾ cup monkfruit sweetener for sugar-free sweetness)
- ¾ cup cassava flour (a gluten-free option that works perfectly here)
- ½ teaspoon ground cinnamon (classic apple crisp spice!)
- ¼ teaspoon ground nutmeg (optional if you’re strict AIP)
- ½ cup palm shortening or grass-fed butter (super cold for a flaky topping)
Ingredient Tips and Swaps
- Apples: Granny Smith apples are ideal for their tart flavor, which balances the sweet topping. Honeycrisp or Fuji also work, but avoid soft types like Red Delicious—they get mushy.
- Juice: Orange adds brightness; cranberry gives a tangy twist. If you don’t have either, diluted lemon juice works too.
- Sweetener: Coconut sugar gives a nice caramel vibe, but monkfruit is great if you want this dessert sugar-free.
- Cassava Flour: No cassava? Tigernut flour can substitute, but expect a slightly different texture.
Step-by-Step Instructions
Let’s cook this together. I’ll make it super simple with tips along the way!
Step 1: Chill Your Fat
Measure out ½ cup of palm shortening or butter, and pop it into the fridge or freezer to chill. Cold fat is the secret to a perfect crumbly topping.
Step 2: Prep Your Apples
Preheat your oven to 350°F. Peel and slice your apples into thin, even pieces (about ¼ inch thick). Toss them into your dish and spread them out evenly. Pour your chosen juice over the apples for extra moisture and flavor.
Step 3: Make the Topping
In a bowl, mix cassava flour, coconut sugar, cinnamon, and nutmeg. Grab your chilled fat and cut it into small cubes. Use a pastry cutter or your hands (fun fact: hands work just as well!) to combine the fat with the dry mix until crumbly. You’re aiming for a texture that’s chunky but holds its shape.
Step 4: Assemble and Bake
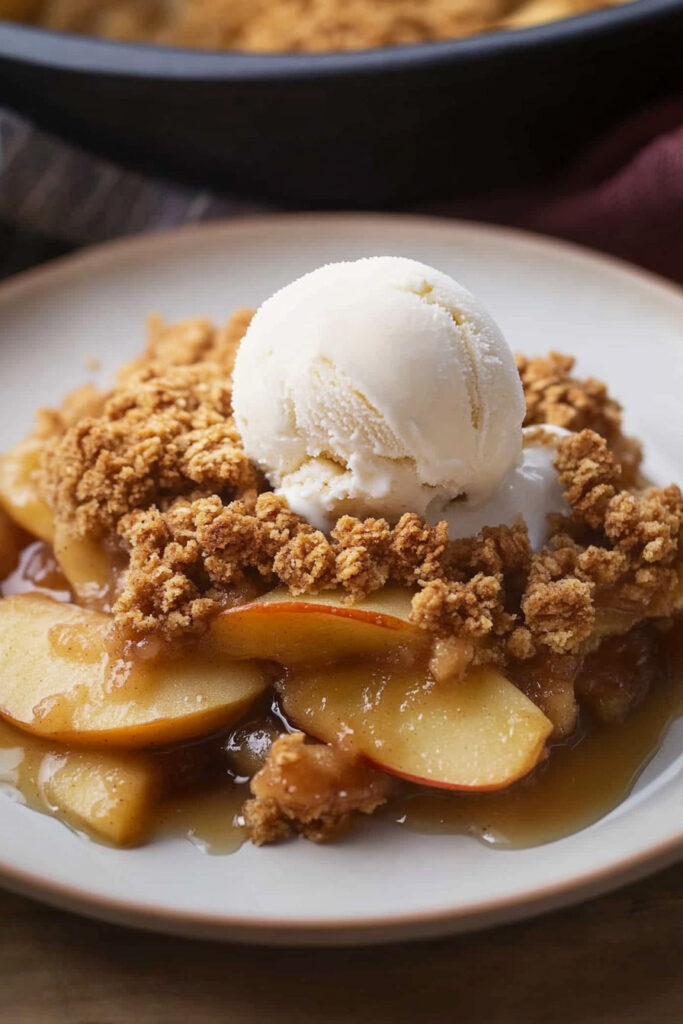
Sprinkle the topping over your apples. Don’t stress about making it perfect—rustic is the charm of apple crisp! Bake for 30–35 minutes or until the apples are bubbling and the top is golden brown.
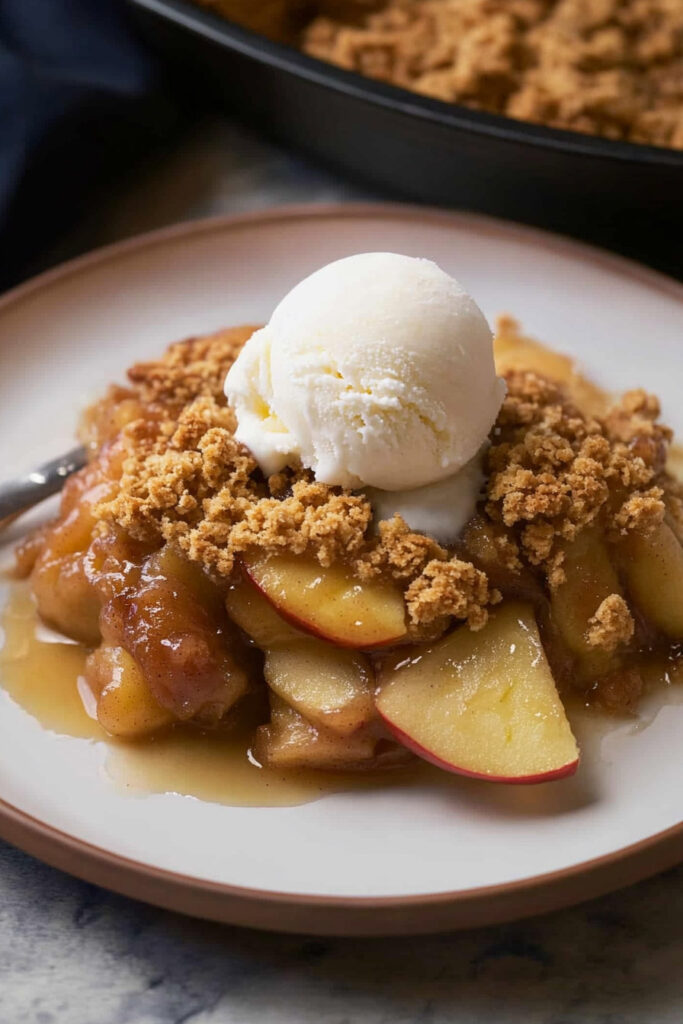
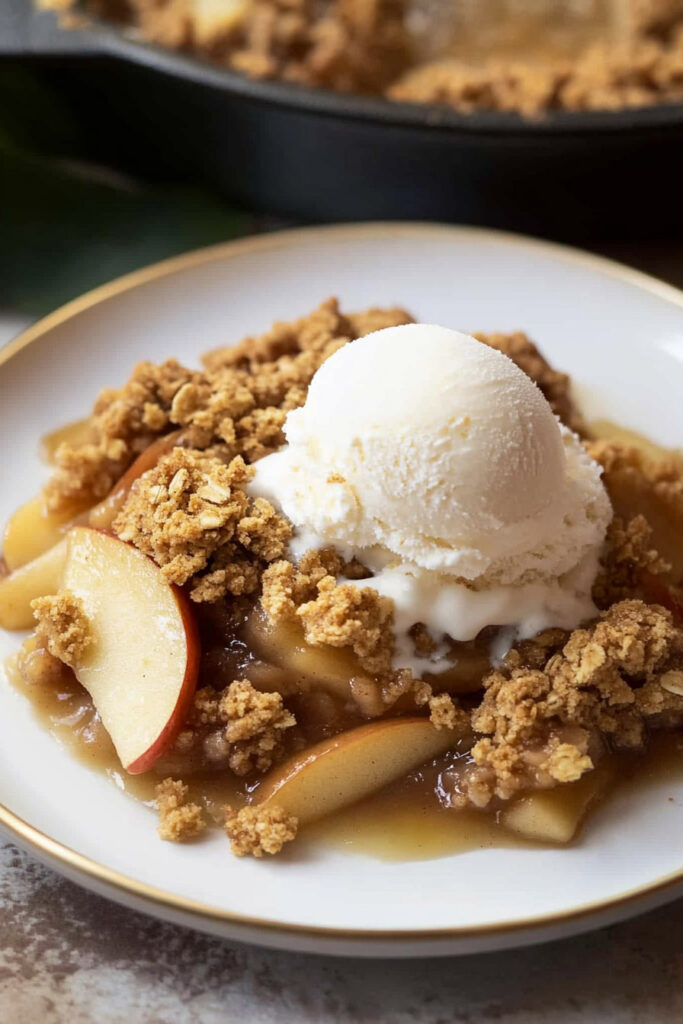
Step 5: Serve Warm
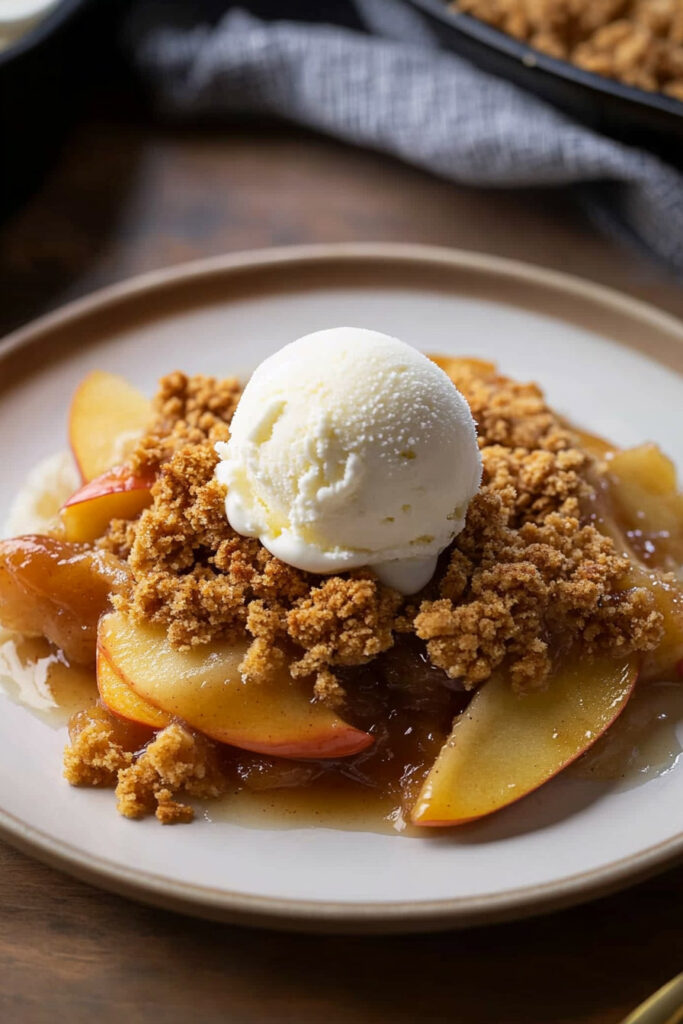
Let it cool for a few minutes, then serve it warm. Pair it with dairy-free ice cream or whipped coconut cream for the ultimate dessert experience.
Bonus Customization Ideas
- Switch up the fruit: Swap apples for pears in the fall or peaches in the summer.
- Add spices: Ginger powder can bring extra warmth if you’re feeling adventurous.
- Go fancy: Toss in chopped nuts (if you tolerate them) for added texture.
Storing Leftovers
Storage
Got leftovers? Pop them into a sealed container and refrigerate for up to three days.
Reheating
For best results, reheat in the oven at 300°F to keep the topping crisp. Microwaving works too, but it can make the topping a bit soft.
Freezing
If you’re planning ahead, you can assemble and freeze this dessert before baking. It’ll keep well for up to two months. Just thaw in the fridge overnight and bake fresh.
This AIP apple crisp is comfort food at its finest—simple, satisfying, and full of flavor. I hope you enjoy making (and eating) it! Let me know how it turns out—and if you add your own spin, I’d love to hear about it!
PrintAIP Apple Crisp

This AIP Apple Crisp is a warm, comforting dessert that’s perfect for cozy evenings. Made with tender baked apples and a crumbly, cinnamon-scented topping, it’s completely grain-free, dairy-free, and refined sugar-free—perfect for those following the Autoimmune Protocol (AIP) diet or anyone looking for a healthier treat. Whether served on its own or with a dollop of whipped coconut cream, this dessert is as delightful as it is nourishing.
- Prep Time: 20 minutes
- Cook Time: 35 minutes
- Total Time: 55 minutes
- Yield: 6 1x
- Category: Dessert
- Cuisine: American
Ingredients
For the Apples:
- 4 cups green apples, peeled and sliced (Granny Smith recommended)
- ¼ cup juice (orange juice or unsweetened cranberry juice)
For the Topping:
- 1 cup coconut sugar (or ¾ cup monkfruit sweetener for sugar-free)
- ¾ cup cassava flour
- ½ teaspoon ground cinnamon
- ¼ teaspoon ground nutmeg (omit for strict AIP)
- ½ cup palm shortening or grass-fed butter (very cold)
Instructions
- Prepare the Fat: Measure out ½ cup of palm shortening or butter and place it in the fridge or freezer to chill for at least 20 minutes. This ensures a flaky, crumbly topping.
- Preheat the Oven: Set your oven to 350°F (175°C).
- Prep the Apples: Peel and slice the apples into even pieces (about ¼-inch thick). Arrange them in a 9-inch pie plate or an 8″x8″ casserole dish. Pour the juice evenly over the apples to keep them moist and add flavor.
- Make the Topping: In a medium bowl, whisk together cassava flour, coconut sugar (or monkfruit sweetener), cinnamon, and nutmeg until well combined. Remove the chilled shortening or butter from the fridge/freezer and chop it into small cubes. Add it to the dry mixture and use your hands or a pastry cutter to mix until crumbly. Avoid overmixing—there should still be visible chunks of fat for a perfect crisp texture.
- Assemble & Bake: Sprinkle the topping evenly over the apples, covering them completely. Bake in the preheated oven for 30–35 minutes, or until the apples are tender and bubbling and the topping is golden brown.
- Serve & Enjoy: Let cool slightly before serving warm with whipped coconut cream, dairy-free ice cream, or AIP-compliant caramel sauce.
Notes
Serving Suggestions:
- Pair with herbal tea or spiced cider for a cozy treat.
- Serve with toppings like whipped coconut cream or dairy-free vanilla ice cream for added indulgence.
Tips & Tricks:
- Use Granny Smith apples for their tartness; avoid overly soft varieties like Red Delicious as they may turn mushy during baking.
- For best results, keep your fat very cold when making the topping—it creates that signature crumbly texture.
- If you prefer less sweetness, reduce the coconut sugar slightly.
Storage & Reheating:
- Store leftovers in an airtight container in the fridge for up to 3 days.
- Reheat individual portions in an oven at 300°F until warmed through to maintain crispness (avoid microwaving if possible).
- To freeze, assemble but don’t bake; cover tightly and freeze for up to 2 months. Thaw overnight in the fridge before baking as instructed.